Kestrel KST1000 Shot Timer

$299.00

The KST1000 Shot Timer by Kestrel Ballistics is the most versatile, rugged, and dependable shot timer available. Backed by a 5-year warranty and made in the USA, this timer won't quit.

Availability: In stock
SKU
0740LYEL

 FREE US SHIPPING

Kestrel KST1000 Shot Timer Overview


The KST1000 Shot Timer by Kestrel Ballistics is the most versatile, rugged, and dependable shot timer available. Backed by a 5-year warranty and made in the USA, this timer won't quit.

  • Designed and built in the USA
  • 5 Nameable setting presets
  • 2 Easy-to-use screens from your hip or in your hand
  • Compatible with dry fire and suppressed shooting
  • Extra Loud Buzzer
  • Waterproof and dust-proof
  • Bluetooth Link Enabled
  • Durable Drop-tested to MIL-STD-810G standards

KST1000 Shot Timer | How to Use Par Times

In this video, Kestrel Ballistics' Robert Vlacich shows you how to set up and use the custom par times feature within the KST1000 Shot Timer.


KST1000 Shot Timer | Start Loop

In this video, Kestrel Ballistics' Robert Vlacich shares the start loop feature and the benefits of using it out on the range.


KST1000 Shot Timer | How to Use Start Delay

In this video, Kestrel Ballistics' Robert Vlacich explains how to set up and use the start delay feature on the KST1000 Shot Timer.


KST1000 Shot Timer | Using Presets for Matches & Drills

In this video, Kestrel Ballistics' Robert Vlacich explains how to use presets for matches and drills.


KST1000 Shot Timer | Why Do We Show Elapsed Time?

In this video, Kestrel Ballistics' Robert Vlacich explains why we show the elapsed time on our device.


KST1000 Shot Timer | How to Adjust Sensitivity & Echo Settings

In this video, Kestrel Ballistics' Robert Vlacich shows you how to adjust your shot timer's microphone sensitivity to allow for all types of range training.


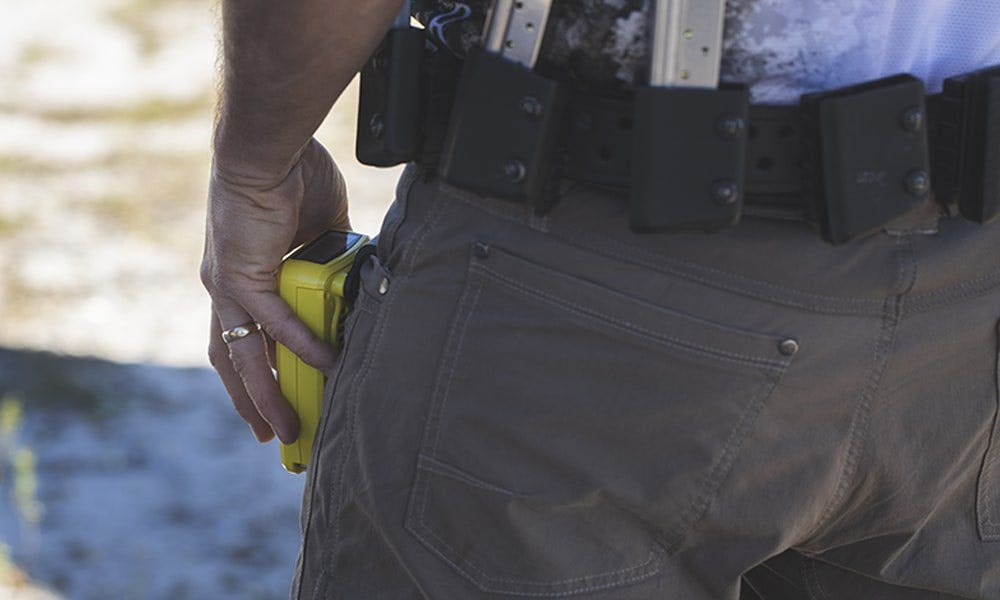
KST1000 Shot Timer | How to Wear/Hold Your KST1000

In this video, Kestrel Ballistics' Robert Vlacich informs KST1000 users on the proper positions and placement of their devices while in use.

Product Questions

Yes, your KST1000 can be used for dryfire or airsoft training. You will have to tailor your sensitivity settings for your exact weapon. If your gun is particularly quiet, this can be challenging. First thing is to adjust the sensitivity to pick up your weapon. If it is loud, you may be able to have the KST1000 relatively far away. If not, it may be helpful to position the timer close to where the weapon will be fired. Depending on your weapon system and accessories, the timer will also likely hear other sounds. This can include racking a slide or drawing from a holster.

... Permalink

You can use the Echo setting in the menu to help with this. This menu setting sets up a “dead time” after each detected shot so that the shot timer will not trigger on echoes from your surroundings or the sound of a steel target being hit. 0.11 seconds is a good middle-of-the-road setting, but you can change this value if you need. A word of caution – extremely short echo times may require careful adjustment of the sensitivity value to avoid picking up extraneous sounds.

... Permalink

Currently the longest par time you can set it 999 seconds. If this becomes a limiting factor in the future, we can upgrade it with a firmware update.

... Permalink

For both RO and solo operation, it is important to understand where the buzzer and microphone are located on your KST1000. They are on the back of the unit in the upper half of the device. If you are acting as an RO and timing another shooter, you will have the best results if you do not cover the buzzer and mic with your hand. This means that you can face the screen toward yourself while you work. When you are wearing the KST1000 on your hip, try not to block the microphone with clothing. In more sensitive settings, you may find that your KST1000 interprets rough handling, such as quickly removing it from your belt, as a shot. You can eliminate this by making use of the mute function.

... Permalink

Elapsed time is displayed in the center of the front display. This can be used for an RO to see how much time is left in their stage or to see if they missed the par time beep. It does not ever stop. With the KST1000, there is no need to “stop” the timer. Any time that you press GO, it will start a new string.

... Permalink

When filter is on, it runs the microphone through an electrical filter, but as of now we do not recommend turning the filter on as there should be no need to do so.

... Permalink

For most situations, this can be left off. But for extremely quiet weapons, the buzzer may be louder than the gunshot so it is necessary for the KST1000 to selectively mute during the buzzer. This means that it will not detect gunshots that happen concurrently with the start beep, which is defaulted to 300 ms. While scrolling through this setting, there are also plus values. These are essentially echo values for the buzzer mute.

... Permalink

The KST1000 Shot Timer uses two CR123 batteries. Typical battery life is up to 90 hours of use.

... Permalink

Your KST1000 can be configured for fixed or random start delays in the main menu. With the left and right buttons, you can scroll the fixed start delay. Scroll all the way left to turn off the fixed delay. The random line allows you to add random time to the start delay. Again, scroll right and left to change the maximum randomized time. This combination of fixed and random delay will result in a random delay between 2.0 and 3.0 seconds. To change the lower bound, make the adjustment in the start delay line. To change the upper bound, make the adjustment in the random line.

... Permalink

Your KST1000 can be configured for up to three par times. To enable the first par time, click the enter button on first par time. Use the right or left buttons to select on. Press the gear button to return to the main menu and you will see a time. Use the left and right buttons to change the time. You can then add a second par time as desired, and from there a third as well. It is important to know that you must enable them in numerical order. For example, you cannot enable the second par time if the first par time is disabled.

... Permalink

For a quick set up, you can use the preset functionality in your KST1000. This allows you to have five “bins” start delays, par times, etc. Here’s a simple situation where you might find this useful. If you’re going to have a practice session where you are going to bounce back and forth between two drills that have different start delays and par times, you could set up Drill 1 in the first preset slot and Drill 2 in the second preset slot. To change between presets, simply select the top line in the main menu and use the left or right buttons. You can even rename these presets by going into the submenu.

... Permalink

You can connect the KST1000 to our Kestrel LiNK Ballistics app for iOS or Android via Bluetooth. Once connected ,you will be prompted if a new firmware is available. Simply select Yes and it will begin the update.

... Permalink

Unfortunately this will not be available at the launch of the product. We hope to eventually have this integrated at a point in the future however.

... Permalink

The default Dry Fire sensitivity setting should be a good starting point for most Shot Timers in most environments. However, there are several reasons why it may not be the right setting for your situation. First, it's possible for a Shot Timer to interpret ambient noise as shots fired. This is a function of both the specific microphone circuit in your Shot Timer, as well as volume of your ambient noise. Not every Shot Timer will "hear" sounds exactly the same, particularly in the low volume range for dry fire. As such, any 2 units will likely have different sensitivity values which start triggering on just ambient noise. This is normal. If your Shot Timer is triggering on ambient noise, simply increase the sensitivity setting in the Sensitivity sub menu until ambient noise no longer triggers shots. Second, it's possible that the sound of dry fire is too quiet for the standard setting to pick up. In this situation, the sensitivity can be reduced in the Sensitivity sub menu until the shots are triggered. It is also helpful to position the Shot Timer as close as is practical to the gun.

... Permalink
Other Items you Might Consider